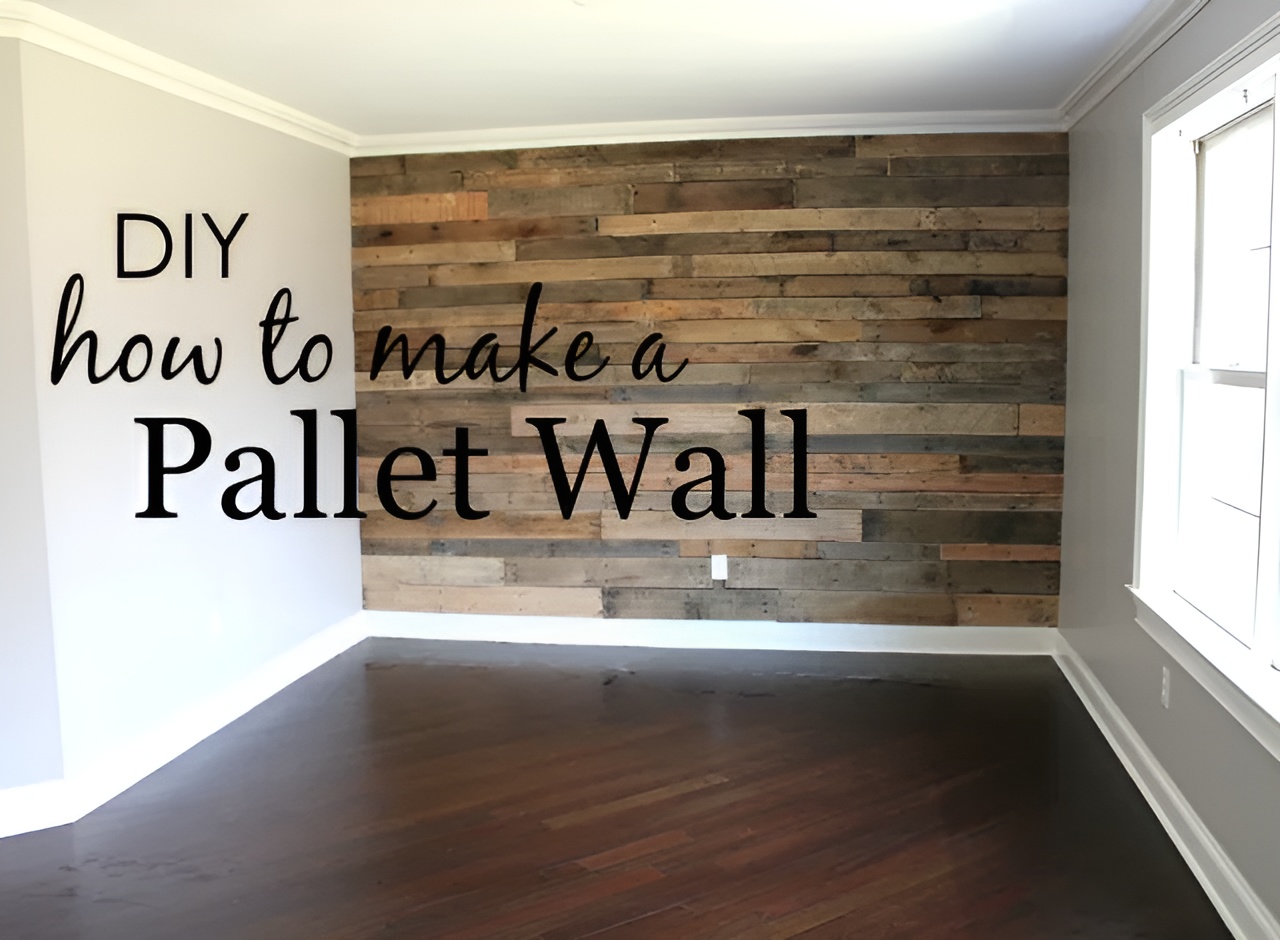
How to Build a Pallet Wall
Pallet walls made from reclaimed wood, have become quite popular over the last several years, and brings a warming touch to any room. Reclaimed barn wood, and even new wood made to look “old” can carry a heavy price tag. However, by carefully selecting pallets that are both safe and free for the taking, you can create a vintage wood look anywhere in your home – on the slimmest of budgets.
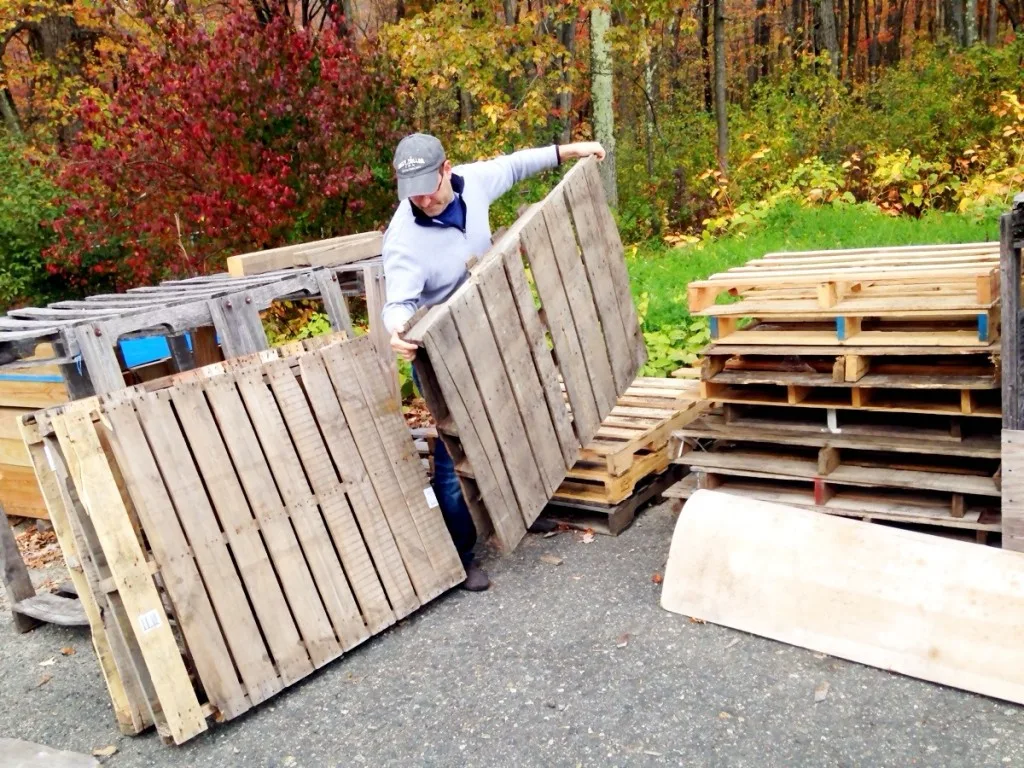
#1 Finding Free Pallets – Where to look for free pallets
It all begins with finding a free source of pallets. And it is actually easier than you think by following a few simple guidelines.
First and foremost, always ask before taking any pallets from anywhere. Some pallets need to be returned by stores for a deposit fee.
Stay clear of big commercial and manufacturing businesses. Most have existing contracts with pallet pick up and delivery services to recycle their pallets.
Concentrate instead on local stores that get a small but steady supply of pallets. Most of these stores receive equipment and parts on untreated, single-use pallets and small shipping crates, which are great for re-purposing. They are usually more than happy to give away their pallets.
Small garden, hardware, motorcycle, lawnmower and specialty shops are a goldmine. So are small construction sites.
But remember to always ask first!
#2 Select Safe Pallets
Yes, some pallets are definitely safer to work with than others!
Never use stained or painted pallets. The fumes and dust from these pallets can be extremely dangerous to work with.
Sawing and cutting wood with paints and sealants releases their chemical compounds into the air, all of which can be harmful to people and pets.
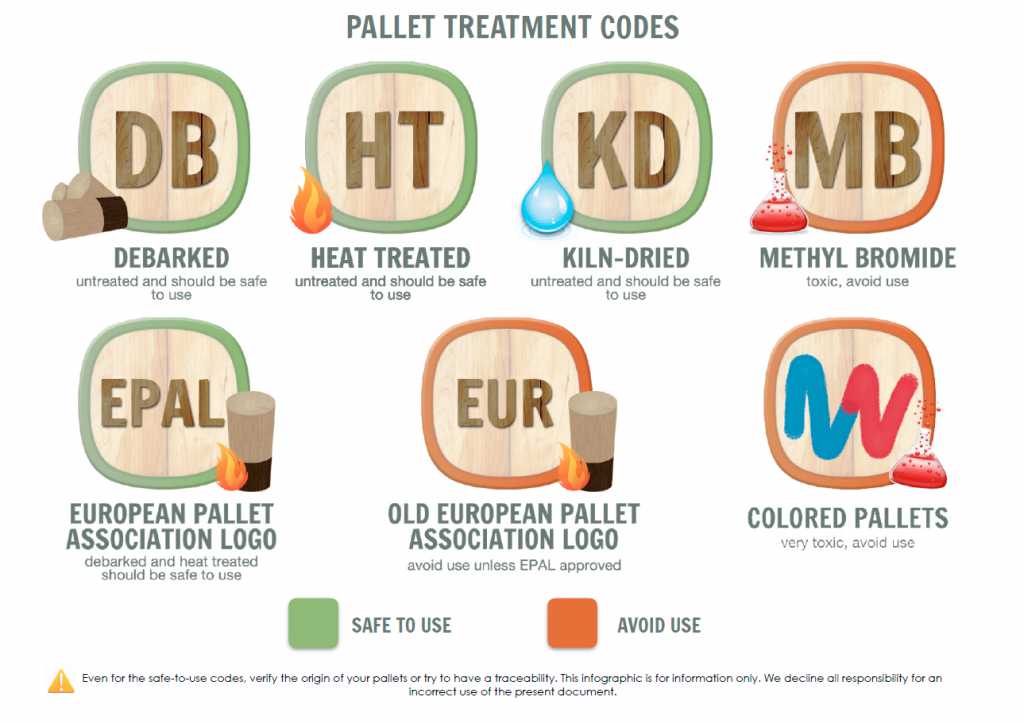
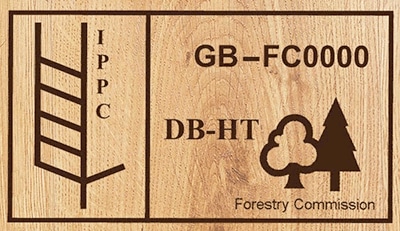
Pallet manufacturers are now required to mark their pallets with a two letter code. This identifies how they were made and treated.
Avoid pallets stamped with the letters MB. MB stands for Methyl Bromide and is a potent neurotoxin that affects the nervous system. Methyl Bromide exposure can cause short-term and long-term problems including severe lung injuries and neurological impairment.
When sourcing pallets, look for the following treatment codes stamped on the side of any pallet that you want to use. DB, HT, and KD, or any combination of the three are safe to use. If you do not see a stamp, DO NOT use the pallet!
#3 Cleaning The Pallet Wood
No matter how clean pallets might look, they should always be cleaned and sanitized before bringing indoors.
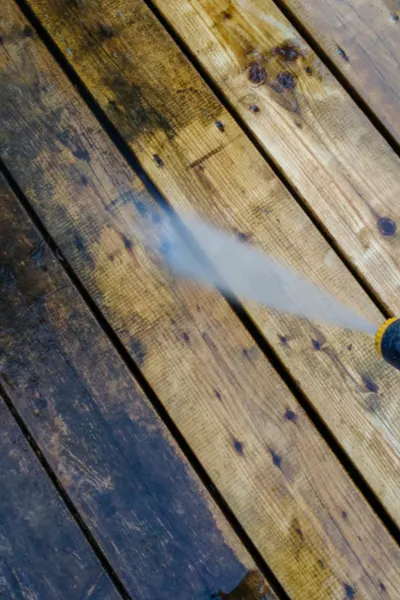
The easiest way to perform the cleaning task is while the wood is still attached in pallet form. And the best tool to use is a simple power washer.
You will be amazed at how easily dirt, grease and grime can be dislodged from old pallet wood simply by using high-pressure spray of water.
A 30 or 45 degree fan nozzle head works best for removing the grime quickly. Avoid using direct and harsh nozzles that can chip and damage wood.
Spray in even strokes with the wood grain to keep from causing grooves or splinters from the high pressure water.
Before spraying the wood off, brush down with a simple solution of 1 cup bleach in a few gallons of water. This will help to clean as well as disinfect the wood as well.
As always, use proper protection gear such as gloves, goggles and dusk masks when working with pallets for personal protection.
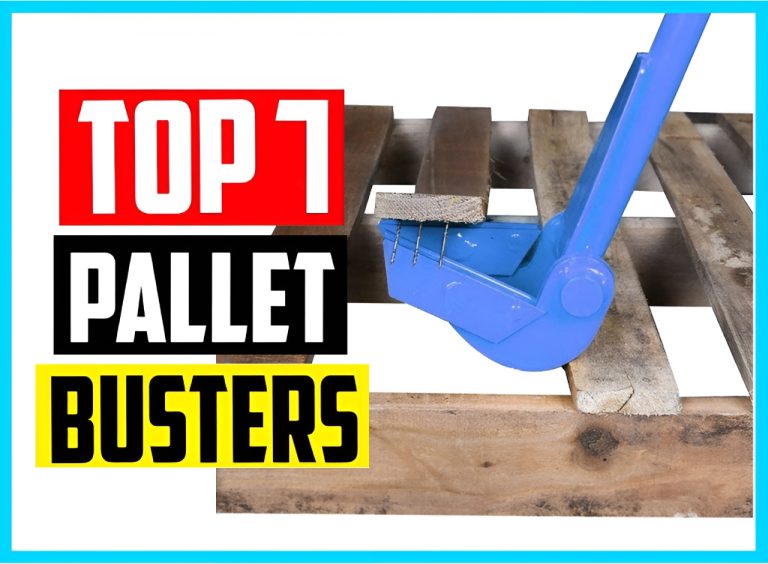
#4 Taking Apart The Pallets
Before you can build that wall, you need to take those pallets apart!
Although the internet is filled with horror stories of the difficulty and challenges of disassembling pallets, you can actually take apart pallets quickly by using a pallet buster.
It makes quick work of the process, and leaves you with great looking boards for your wall project!
#5 Building Your Pallet Wall
Now – on to building that DIY pallet wall!
To quickly assemble a wall, a nail gun is a must. If you don’t own your own, they can be rented from your local tool rental store. Use a finish nailer, with nails that are at least twice the thickness of your pallet wood.
Be sure to paint the wall black before installation. This keeps any light from showing through if there are small gaps or crack between the wood. It goes a long way to a great finished look!
If you are installing your wall on open studs, simply sheet the wall with plywood first. This gives a level, flat surface to adhere the pallet boards to. Again, paint the plywood black to keep it from showing through.
Installation
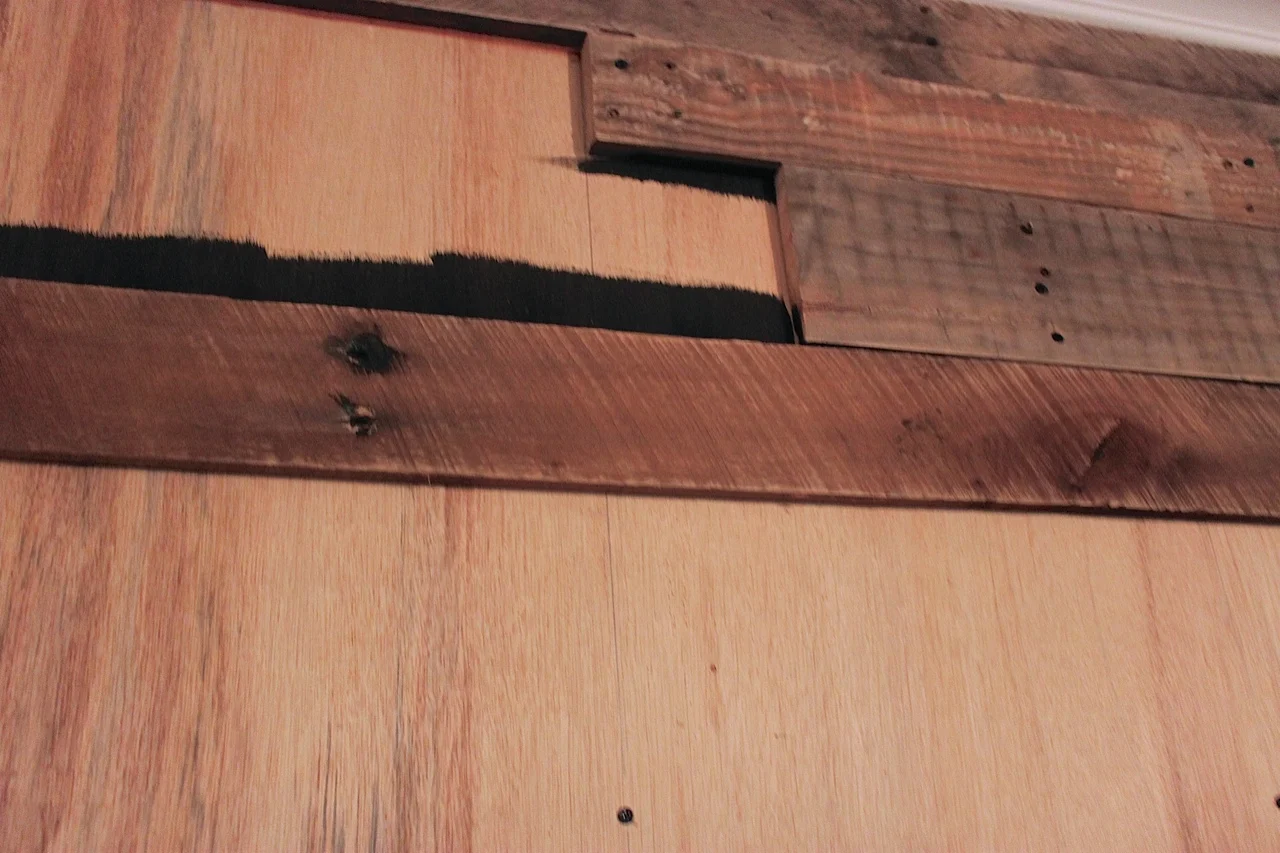
When it comes to design – the sky is the limit. Once you have your wall prepared you can install the wood pieces vertically, horizontally, or even on a diagonal.
For a great rustic look, mix different wood species, sizes and thicknesses as you install. Stagger joints to create a random pattern that is easy on the eyes.
Installing boards of equal length on the same seams can result in “too perfect” of a look. Remember that the key to create a charming, rustic feel is all in the random placement. The more random – the better!
Before starting, bring the pallet wood pieces into the project room for a few days. prior to installation Wood shrinks and expands due to the air temperature and humidity. This will give the wood time to acclimate to temperature of the room.
Using the finish nails, attach the wood to as many studs as possible per piece. But the ends of each piece as tightly together as you proceed. Before you know it – you will have an incredible looking rustic DIY pallet wall to enjoy for years to come!
Happy Building!